Hi matt,
I used a for my Raspberry Pi.
You will absolutely have to insulate the the Raspberry Pi from the case, or you will short-circuit the little computer. Something like this in size M3 and a 5 mm distance would do:

You might want to take out the Raspberry Pi now and then. I solved that by using adhesive velcro, making sure no solder points of the RPi is touching the case, instead of using the screws in the picture above. I also used the velcro to hold the power supply in place.
You can obtain a little more space by using a MicroSD card and an .
You would not be able to use any of the power buttons though, they simply won't fit. I'm not using a power button at all. Here's a picture of my Raspberry Pi:
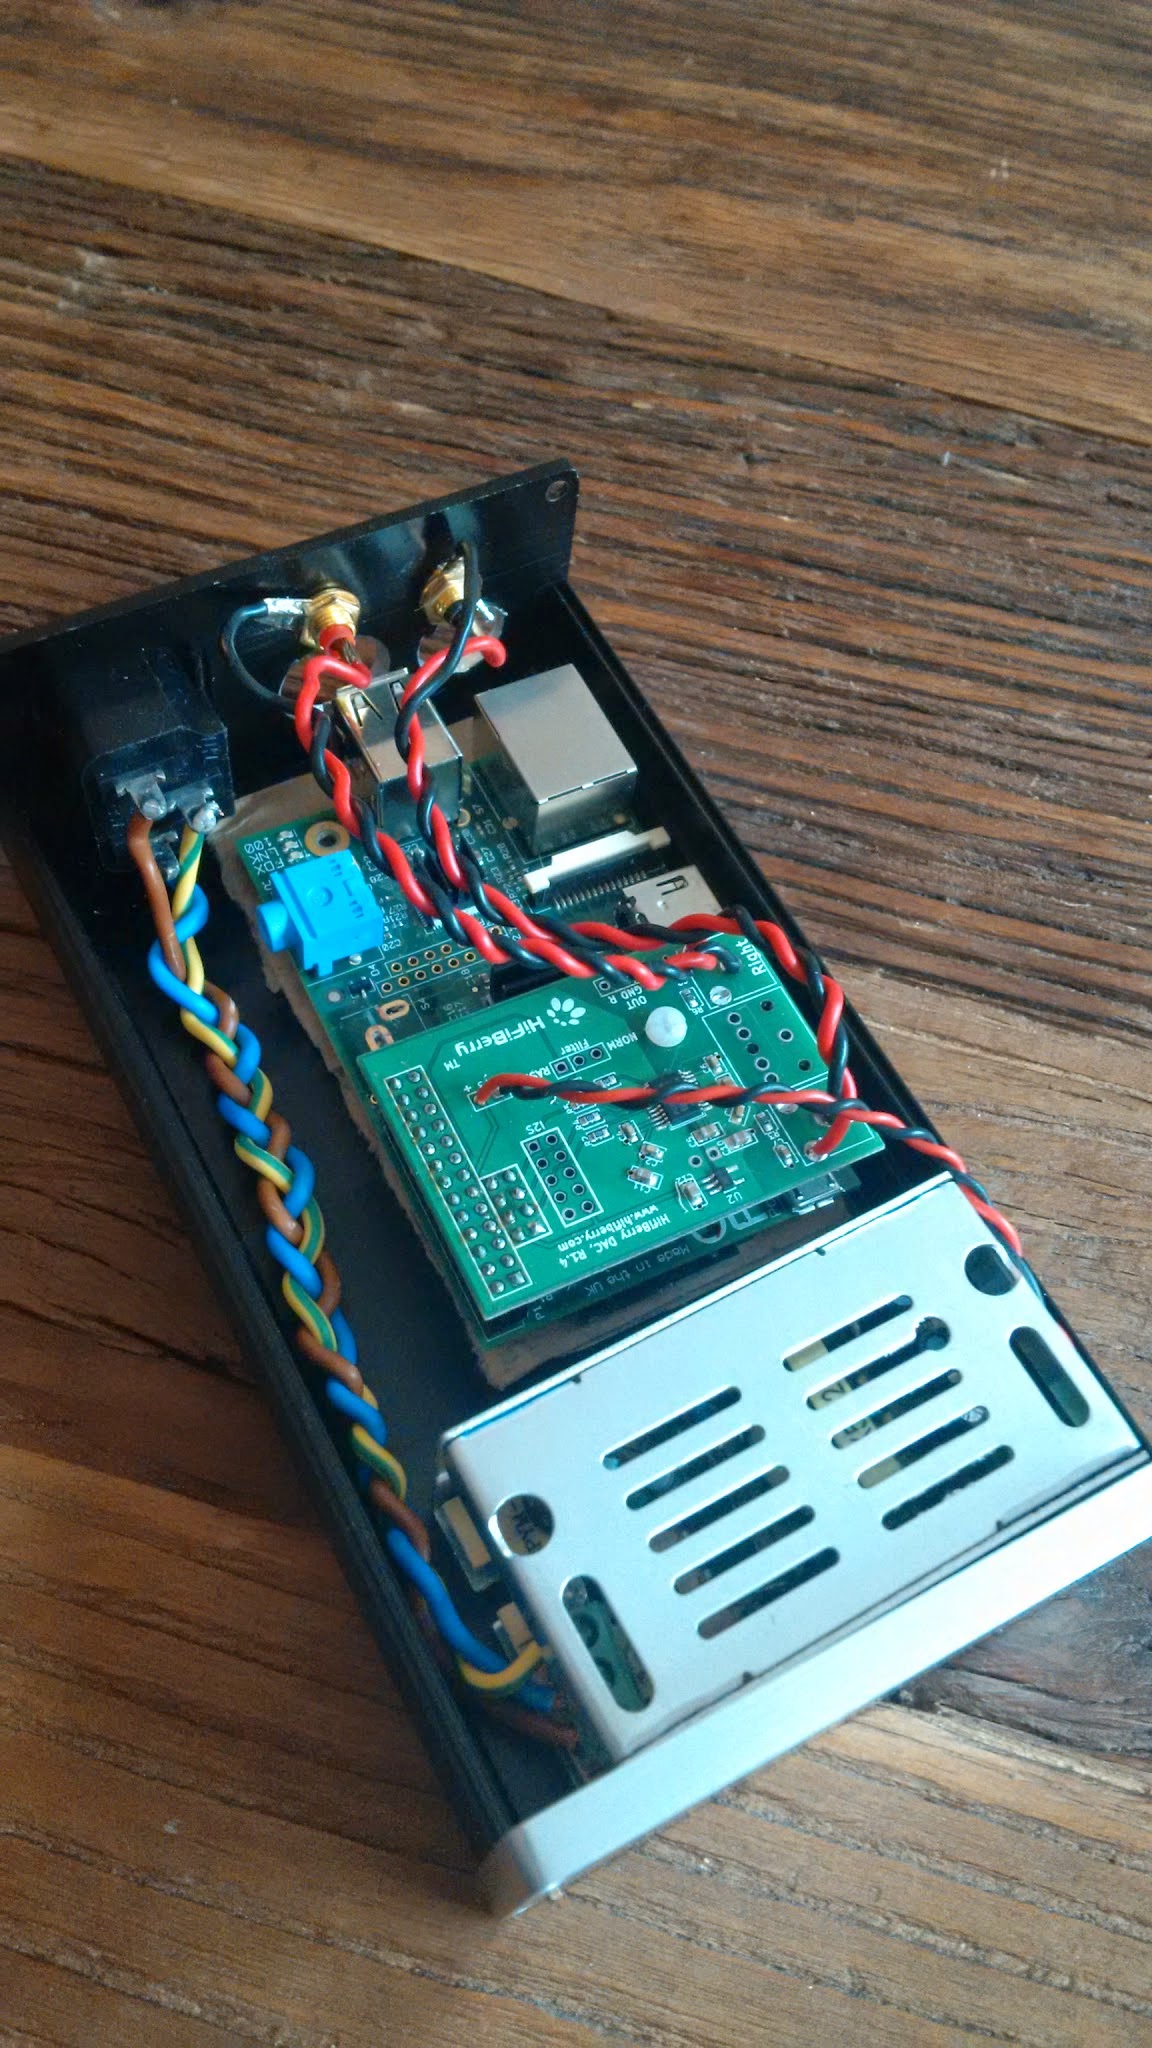
This is a picture of an early stage of my build. You can see that the power supply fits and how I connected the RCA connectors to the HifiBerry DAC. There are also separate holes in the PCB for the connectors, but I used cables that wouldn't fit in them.
I used some cardboard to separate the Raspberry Pi from the case at the time. That's obviously not a permanent way to do things. I also bought the HifiBerry DAC, partly because it has holes in the PCB for external power.
Since then, I also managed to fit an LED with a bezel LED holder in the front panel. The LED is not connected to the Raspberry Pi, just to the 5V power supply with a suitable resistor to adjust the brightness:
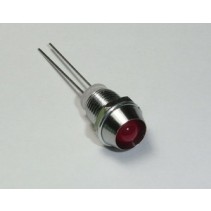
- A-660_4.jpg (6.09 KiB) Viewed 3407 times
Another mistake I did was using RCA connectors without insulation. They were directly connected to the case. This may create a ground loop (you don't want that as you will hear a severe hum). Drill a hole big enough to accommodate insulated RCA connectors like these and make sure only the plastic is touching the case:
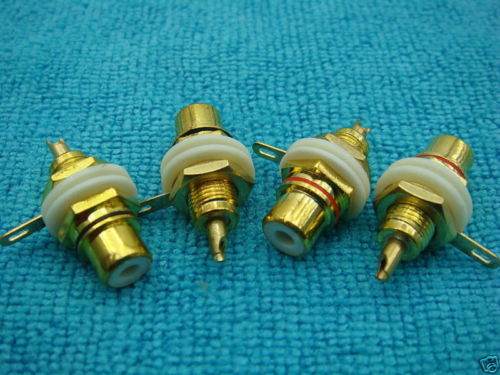
- !Bhg5BZgCGk~$(KGrHqQH-CgEsJzPJ,dhBLJc675!7g~~_12.JPG (46.16 KiB) Viewed 3407 times
Making rectangular holes is not possible unless you have access to a CNC router. I drilled circular holes for the ethernet and USB ports (as well as the RCA connectors and the front panel LED bezel holder) using a stepped drill bit. It's not something that looks or feels professional, but it works. It's on the back panel, so it's not visible anyway.
It's a good idea to use masking tape on the panels when drilling, so you can mark the spots where the holes are going to be. This will also protect the panels from any damage.
You can also see from my picture that the cables are twisted or braided to make sure that they don't pick up any interference.


